Unveiling the Art of Negative Painting Technique
Did you know that negative painting is a technique used by artists to create breathtaking artwork by painting around the subject rather than on it? This unique approach allows for the creation of intricate details, captivating shapes, and mesmerizing compositions. Whether it’s watercolor negative painting or exploring negative space, this technique holds immense significance in the art world.
Understanding Negative Painting Technique
In this section, we will explore the fundamentals of negative painting technique, a captivating approach that allows artists to create intricate details and shapes by painting around the subject, rather than on it.
Negative painting technique involves the deliberate use of negative space to define the positive elements of an artwork. By strategically leaving areas unpainted or selectively applying washes, artists can bring their subjects to life in a unique and visually appealing way.
To get started with negative painting, it’s essential to have a clear understanding of the process. Let’s walk through the step-by-step tutorial that will help you master this technique.
The Step-by-Step Process:
- Choose your subject: Begin by selecting a subject that you would like to negative paint. It can be anything from a simple still life arrangement to a complex landscape.
- Sketch the subject: Create a basic sketch of your subject on your watercolor paper. Keep in mind that you will be painting around the subject, so focus on outlining the shapes and lines that define it.
- Identify negative spaces: Take a close look at your subject and identify the negative spaces around and within it. These are the areas that you will be focusing on while applying the paint.
- Paint the background: Start by painting the background using washes of color. This will help create a contrast between the subject and the negative space, enhancing the visual impact of your artwork.
- Work from light to dark: Begin adding layers of paint to the negative spaces, gradually building up the depth and dimension. Start with lighter colors and gradually introduce darker shades.
- Refine the details: Pay close attention to the edges and contours of the subject. Use a small brush to add the final touches, creating crisp lines and intricate details.
- Evaluate and adjust: Step back and evaluate your artwork as you progress. Make any necessary adjustments to ensure that the negative painting technique is effectively highlighting the subject.
By following these steps, you can create stunning negative paintings that showcase the beauty of the subject while utilizing the power of negative space. Don’t be afraid to experiment with different techniques, brushes, and colors to discover your unique style. Embrace the tutorial provided by expert artists and let their insights guide you in honing your negative painting skills.
Mastering Negative Space Painting
Negative space painting is a fundamental technique within the broader negative painting technique. By understanding and effectively using negative space, artists can create visually compelling artwork that captivates the viewer. In this section, we will explore the concept of negative space and its role in enhancing the overall composition of your artwork.
Embracing the Power of Empty Space
In negative space painting, the areas around the subject become just as important as the subject itself. The strategic use of negative space allows the subject to stand out and creates a sense of balance and harmony within the composition. By utilizing empty spaces, artists can guide the viewer’s gaze and evoke emotional responses.
“Negative space is that magical realm where whispers and nuances reside. It has the power to transform a painting from mere imagery to an engaging tale.”
— Jane Simmons, Acclaimed Watercolor Artist
Unlocking Inspiration from Negative Painting Examples
Studying negative painting examples can provide valuable insights and inspiration for your own artwork. Explore a curated collection of captivating negative painting examples, created by renowned artists from a variety of artistic genres. Observe how they effectively utilize negative space to create depth, convey emotion, and highlight focal points within their compositions.
- An urban cityscape where the negative space between buildings enhances the sense of mystery and solitude.
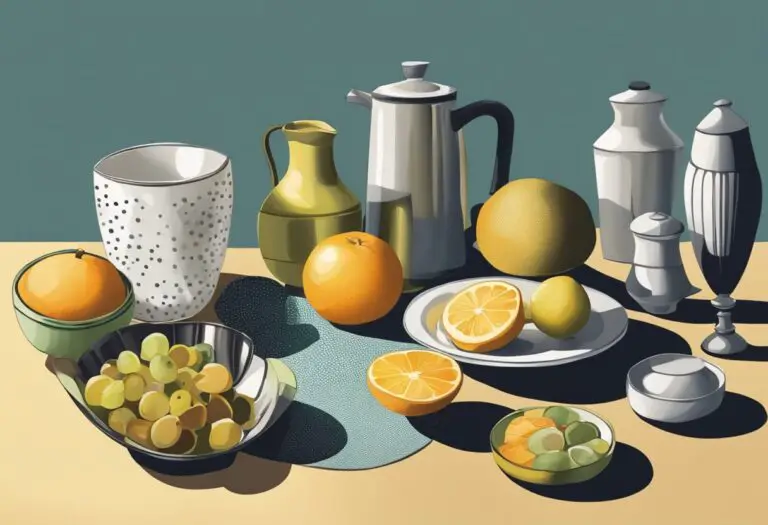
- A still life composition where the negative spaces around objects create a sense of balance and visual tension.
- A portrait where the subtle negative spaces around the subject’s face bring focus to their facial features while adding a sense of depth.
Mastering Negative Space Techniques
To effectively use negative space in your artwork, it’s essential to understand various techniques that can enhance the visual impact of your composition. Experiment with techniques such as using contrasting colors within the negative space, creating asymmetrical compositions, or employing patterns and textures that add interest and depth. With practice and exploration, you can master the art of using negative space to elevate your artistic expression.
By embracing the power of negative space and studying inspiring negative painting examples, you can master the art of negative space painting. With this knowledge, you’ll be able to create visually striking and emotionally engaging artwork that captivates viewers and leaves a lasting impression.
Tools and Materials for Negative Painting
To achieve exceptional results in negative painting, it is crucial to have the right tools and materials. Here is a selection of essential supplies that will help you create stunning negative paintings and unleash your artistic potential.
1. High-Quality Brushes:
Investing in top-notch brushes is essential for precise control and fine details in negative painting. Look for brushes with fine bristles and varying sizes, allowing you to paint both large areas and intricate details with ease.
2. Watercolor Paper:
Watercolor paper is the preferred surface for negative painting due to its ability to handle wet media. Choose a heavyweight paper with a textured surface to enhance the overall look and feel of your artwork.
3. Masking Fluid:
Masking fluid is a valuable tool for negative painting, allowing you to preserve areas of the paper that you wish to keep white. Apply masking fluid using a small brush or an applicator pen, and once it dries, you can paint over it without worrying about affecting those areas.
4. Watercolor Paints:
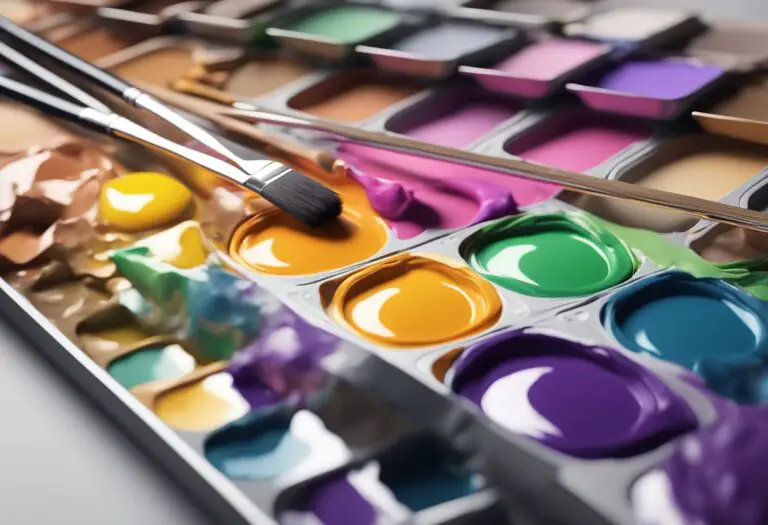
Watercolor paints are widely used in negative painting due to their transparency and ability to create beautiful washes. Invest in a range of high-quality watercolor paints in various colors to achieve the desired effects in your artwork.
5. Palette and Mixing Trays:
A sturdy palette and mixing trays are essential for organizing and blending your watercolors. Use a palette with ample space for mixing colors and ensure it has a smooth surface for easy cleanup.
Pro Tip: Before starting your negative painting, test your materials on spare paper to understand their behavior and how they interact with each other.
6. Water Containers:
Having clean water is crucial when working with watercolor paints. Make sure to have several water containers to rinse your brushes and keep your water clean throughout the process.
7. Masking Tape:
Masking tape is useful for creating clean and defined edges in your negative paintings. Use it to mask off areas on your paper that you want to protect from paint, ensuring precise and controlled painting.
8. Spray Bottle:
A spray bottle filled with clean water is handy for creating beautiful watercolor effects. Spraying water onto your painting can help you achieve subtle color transitions and soft edges.
-
9. Erasers:
Erasers come in handy when working with negative painting techniques, especially when you need to remove or lighten certain areas. Have both kneaded erasers and white vinyl erasers to cater to different types of paper and surfaces.
-
10. Natural Sponges:
Natural sponges are great for creating texture and adding interest to your negative paintings. Experiment with different sponge textures and sizes to achieve unique and captivating effects.
By equipping yourself with these essential tools and materials, you will be well-prepared to embark on your negative painting journey. Remember, each artist may have their own preferences, so feel free to experiment and find what works best for you.
Layering Techniques in Negative Painting
Layering is a crucial technique in the negative painting process. It allows artists to create depth and dimension in their artwork, bringing it to life with stunning visual effects. By understanding the step-by-step process of building layers, you can master the art of negative painting and achieve remarkable results.
One popular layering method used in negative painting is the glazing technique. This involves applying thin transparent layers of paint on top of each other to create subtle shifts in color and value. Glazing allows you to build up the intensity of certain areas while maintaining the transparency and luminosity of the previous layers.
Another technique is known as dry brushing. This involves using a dry brush with minimal amounts of paint to create textured and brushstroke-like effects. By lightly dragging the brush over the surface, you can add depth and detail to your negative paintings, creating a sense of realism and tactile quality.
“Layering is like unraveling the hidden beauty within a negative space. It allows us to gradually reveal a story through the careful application of color and texture.” – Artist Name
Creating layers in negative painting requires a controlled application of color. Start with lighter or more transparent colors in the initial layers and gradually build up with darker or more opaque colors. This approach helps to create a gradual transition and ensures that each layer interacts with the one beneath it.
Experimenting with different layering techniques and exploring the interplay between colors can lead to stunning effects in negative paintings. The layering process allows you to add richness, complexity, and visual interest to your artwork, making it more captivating and engaging for the viewer.
- Begin by sketching your subject using a light pencil. This will serve as your guide as you paint around it.
- Start with the background and apply a wash of light color. This will act as the first layer and create a foundation for the subsequent layers.
- Continue layering by gradually adding more colors and values. Use a combination of glazing and dry brushing techniques to build up the desired effects.
- Take breaks between layers to let the paint dry and assess the overall composition. This will help you make informed decisions about the next layer.
- Repeat the layering process until you achieve the desired depth, dimension, and visual impact.
Remember, the layering techniques in negative painting are not confined to a strict set of rules. As you refine your skills and gain experience, you can adapt these techniques to suit your personal style and creative vision. Embrace the artistic possibilities of layering and allow it to elevate your negative paintings to new heights.
Exploring Color Harmonies in Negative Painting
Color is a powerful element in negative painting, as it can dramatically enhance the overall composition of an artwork. In this section, we will delve into the concept of color harmonies and how they contribute to the visual appeal of negative paintings.
Color harmonies refer to the combination of colors that work well together and create a pleasing visual effect. By understanding different color harmonies, artists can strategically use colors to evoke specific emotions and enhance the impact of their negative paintings.
One popular color harmony technique is the analogous color scheme. This involves using colors that are adjacent to each other on the color wheel, such as blue and green or purple and red. Analogous color schemes create a sense of harmony and unity in the artwork, making it visually appealing.
“Analogous color schemes can evoke a tranquil and calming mood in negative paintings, making them ideal for serene landscapes or floral compositions,” says renowned watercolor artist Sarah Taylor.
Another effective color harmony technique is the complementary color scheme. Complementary colors are opposite each other on the color wheel, such as red and green or blue and orange. When used together, complementary colors create a strong contrast and vibrancy in negative paintings, making the subject visually pop.
Examples of Negative Painting utilizing Color Harmonies:
- Monochrome Harmony: This technique involves using different shades and tones of a single color in a negative painting. It creates a harmonious and soothing effect, allowing the viewer to focus on the intricate details and textures.
- Triadic Harmony: Triadic color harmonies involve using three colors that are evenly spaced on the color wheel. Artists can create dynamic and energetic negative paintings by combining vibrant colors like red, yellow, and blue.
- Warm and Cool Harmony: Artists can create contrast and balance in negative paintings by using warm colors (such as red, orange, and yellow) and cool colors (such as blue, green, and purple) together. This harmony technique adds visual interest and depth to the artwork.
By exploring and experimenting with different color harmonies, artists can elevate their negative paintings to new heights. Color choices have the power to evoke emotions, set the mood, and create captivating visuals in negative artwork. So, embrace the possibilities of color harmonies and let them guide your artistic journey in negative painting.
Enhancing Texture and Detail in Negative Painting
Texture and detail are crucial elements in the art of negative painting. By incorporating various techniques, artists can create captivating textures and intricate details that bring their artwork to life. In this section, we will explore these techniques and provide valuable tips to enhance the texture and detail in your negative paintings.
1. Layering Techniques
Layering is a fundamental technique that adds depth and dimension to negative paintings. By applying multiple layers of paint, artists can create texture and build up details gradually. Experiment with different brushstrokes, thicknesses of paint, and transparency levels to achieve the desired texture and depth in your artwork.
2. Dry Brushing
Dry brushing is a technique that involves using a dry brush with minimal paint to create texture and fine details. By lightly brushing the surface of the paper or canvas, you can add subtle textural effects and enhance the intricate details in your negative paintings. This technique is particularly effective when depicting foliage, hair, or delicate patterns.
3. Sgraffito
Sgraffito is a technique that involves scratching or scraping away layers of paint to reveal underlying colors. This technique allows artists to create texture and add intricate details by selectively removing paint from specific areas. Use a variety of tools, such as palette knives or toothpicks, to scratch the surface and create unique textures and patterns.
4. Masking Fluid
Masking fluid is a valuable tool for creating crisp, precise details in negative paintings. By applying masking fluid to selected areas before painting, you can protect them from paint and create clean lines and shapes. Once the paint is dry, simply remove the masking fluid to reveal the untouched areas and enhance the overall detail in your artwork.
5. Textured Mediums
Textured mediums, such as gels or pastes, can be used to add texture and dimension to negative paintings. Mix these mediums with your paint to create different textures and apply them with a brush or palette knife. Experiment with various textures, from coarse to smooth, to achieve the desired effect and enhance the overall texture and detail in your artwork.
Tip: Don’t be afraid to experiment with different techniques and materials to enhance the texture and detail in your negative paintings. Embrace the creative process and let your artwork evolve organically.
By implementing these techniques and exploring different approaches, you can elevate the texture and detail in your negative paintings. Engage in continuous experimentation and practice, and with time, you will develop your unique style and achieve remarkable results.
Negative Painting in Different Art Forms
While the negative painting technique is commonly associated with watercolors, its application goes beyond traditional mediums. In this section, we will explore how artists incorporate negative painting in various art forms such as acrylics, oils, and mixed media. By pushing the boundaries of negative painting, artists can unleash their creative potential and express their artistic vision in unique and captivating ways.
Acrylics
Acrylic painting allows artists to experiment with the versatile nature of this medium and embrace the negative painting technique. With acrylics, artists can layer colors, create texture, and build up the composition by painting around the subject. By employing negative painting, artists can bring depth and realism to their artworks, showcasing the power of negative space in capturing the viewer’s attention.
Oils
The rich and vibrant texture of oil paints provides artists with a unique opportunity to explore negative painting. By strategically applying oil paints, artists can create intricate details and emphasize the subject by painting around it, rather than directly on it. This technique allows for a subtle yet impactful effect, resulting in visually captivating artworks that evoke emotion and engage the viewer’s imagination.
“Negative painting in oils offers a whole new level of depth and complexity to my artwork. It allows me to not only bring out the subject, but also create a dynamic interplay between the positive and negative elements, adding a sense of mystery and intrigue to my paintings.” – Emily Davis, Contemporary Oil Painter
Mixed Media
The realm of mixed media art provides endless possibilities for incorporating the negative painting technique. Artists can combine different materials and techniques, such as collage, texture paste, and watercolor washes, to create visually stunning compositions that utilize negative space in innovative ways. With mixed media, the negative painting technique can be used to juxtapose different elements, create contrast, and add depth to the artwork.
By exploring negative painting across diverse art forms, artists have the opportunity to push the boundaries of their creativity and challenge traditional notions of technique and medium. Negative painting becomes a powerful tool for artists to communicate their artistic vision and create mesmerizing artworks that captivate and inspire viewers.
Conclusion
In conclusion, the negative painting technique offers artists a powerful tool to create visually stunning artwork. By skillfully utilizing negative space, layering techniques, and color harmonies, artists can transform empty spaces into captivating shapes and forms. Negative painting allows artists to express their creativity and produce remarkable pieces of art that engage and captivate viewers.
The use of negative space in negative painting serves as a powerful visual language. It adds depth and dimension to artwork, allowing the subject to come to life through the absence of color and the strategic placement of brushstrokes. This technique not only challenges traditional notions of painting but also encourages artists to think beyond the confines of the subject and explore the possibilities of the surrounding space.
Through the process of layering, artists can create intricate details and textures that enhance the overall composition of the artwork. Layering allows for a gradual buildup of colors and tones, resulting in a dynamic and visually appealing piece. By carefully considering the order and placement of each layer, artists can achieve a sense of balance and harmony in their negative paintings.

